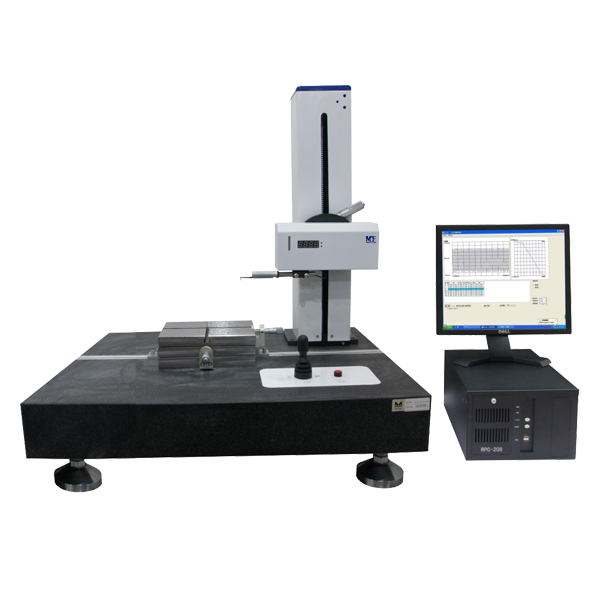
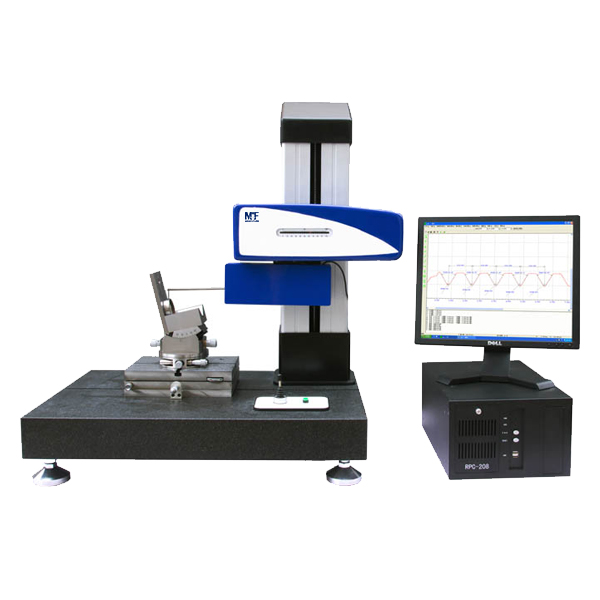
Contour Tester
Measuring Items:
Contour, angle processing (coordinate angle, line-line angle) , circle processing (arc radius, centers- center distance, center-line distance,intersection-center distance etc.), point- line processing, straightness, groove depth, groove width, distance of groove edge, distance of groove center, horizontal distance etc.
Features:
1.Cartesian coordinates, stylus contacts.
2.High precision air floating guide rail –As the measuring datum of X coordinate to guarantee the linear moving accuracy in X direction.
3.High precision digital sensor – to get information of Z coordinate for measuring the contour of various precise mechanical piece part.
4.Imported high precision scale--for moving distance control
5.Multifunctional, efficiency and Easy-of-use:
1. Windows-based MF measuring program,
2. Easy for printing and date filing
Technical Parameters
| Model | MF-CT120 | |||
| Measuring range | X axis(Cross rail) | 100mm | ||
| Z1 axis (Sensor) | 25mm | |||
| Z axis(Upright) | 400mm | |||
| Measuring Accuracy | X axis | ±(1.2+2L/100)μm(L: Rail moving distance along X direction,[mm]) | ||
| Z1 Axis | ±(1.5+3H/100)μm(H :Measuring height along Z direction [mm] ) | |||
| X axis(Cross rail) | Straightness | 1.2μm /100mm | ||
| Grating resolution | 0.1μm | |||
| Made In | MicroE USA | |||
| Z1 axis (Sensor) | resolution | 0.1μm | ||
| Sensor | Digital Sensor | |||
| Made In | MicroE USA | |||
| Moving Direction | Front/Back Bi-directional | |||
| Measuring force | 0.5-6g | |||
| Stylus shape | R:0.05mmCarbide R:0.05mm | |||
| Stylus length | 18mm | |||
| Rod length | 150mm | |||
| Climbing angles | UP 77 Deg ,Down 88 Deg | |||
| Speed | Measuring Speed | 0.02mm/s,0.05mm/s,0.1mm/s,0.2m/s,0.5mm/s,1.0mm/s,2.0mm/s,4.0mm/s(8) | ||
| Positioning speed | 0.02mm/s,0.05mm/s,0.2m/s,0.5mm/s,1.0mm/s,2.0mm/s,3.0mm/s,4.0mm/s(8) | |||
| Table Conditions | Table | X range: ±30°Y range: ±7.5mmZ range:360°(with fine-turning) | ||
| Max Load | 120KG | |||
| ZOOM | Any | |||
| Measuring conditions | Working Source | 0.35~0.43Mpa | ||
| Air Source | 0.45~0.80Mpa | |||
| Air consumption | ≥0.2 m³/min | |||
| Power Source | AC 220V±10% 50Hz | |||
| Environmental conditions | Temp: 10~30℃Relative humidity: <85% | |||
Main Configuration
| Mechanical | Marble working table | |
| Air-floating guide rail | ||
| Upright | ||
| Digital Sensor | ||
| Scale system | ||
| Adjustment Table | Horizontal adjustment device | |
| Rotation adjustment device | ||
| Fixture | ||
| Calibration Gage: 1 set | ||
| Stylus and Probe | Φ2*18mmΦ2*18mm Double incline surface: 2pcs | |
| Φ5*120mmΦ5*120mm Probe: 1pc | ||
| Air filter system | ||
| Electrical | Electrical control system | |
| Industrial automation computer | Main board: NORCO950 | |
| NORCO PBP-14P4 | ||
| CPU E5500 | ||
| Kinston 2G | ||
| Hard disc: SEAGATE 500G | ||
| 22″LCD | ||
| Windows XP based MMD-R measuring software | ||
| HP Colour inkjet printer | ||


